Page 524 - Mahr马尔量具完整
P. 524
Precimar ULM L-E

       Calibration Measuring Instruments

       DESCRIPTION

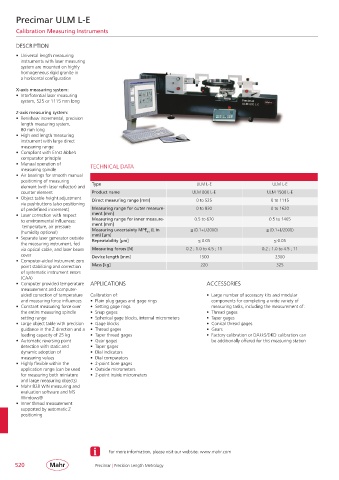
       •  Universal length measuring
        instruments with laser measuring
        system are mounted on highly
        homogeneous rigid granite in
        a horizontal configuration
       X-axis measuring system:
       •  Interferential laser measuring
        system, 525 or 1115 mm long
       Z-axis measuring system:
       •  Renishaw incremental, precision
        length measuring system,
        80 mm long
       •  High end length measuring
        instrument with large direct
        measuring range
       •  Compliant with Ernst Abbe’s
        comparator principle
       •  Manual operation of    TECHNICAL DATA
        measuring spindle
       •  Air bearings for smooth manual
        positioning of measuring   Type                               ULM L-E                    ULM L-E
        element (with laser reflector) and
        counter element          Product name                        ULM 800 L-E               ULM 1500 L-E
       •  Object table height adjustment   Direct measuring range [mm]  0 to 525                0 to 1115
        via pushbuttons (also positioning
        of predefined increment)  Measuring range for outer measure-  0 to 830                  0 to 1620
       •  Laser correction with respect   ment [mm]
        to environmental influences:  Measuring range for inner measure-  0.5 to 670            0.5 to 1465
         temperature, air pressure   ment [mm]
        (humidity optional)      Measuring uncertainty MPE  (L in   ≤ (0.1+L/2000)             ≤ (0.1+L/2000)
                                                     E1
       •  Separate laser generator outside   mm) [µm]                  ≤ 0.05                    ≤ 0.05
                                 Repeatability [µm]
        the measuring instrument, fed
        via optical cable, and laser beam   Measuring forces [N]  0.2 ; 1.0 to 4.5 ; 11      0.2 ; 1.0 to 4.5 ; 11
        cover                    Device length [mm]                    1500                       2300
       •  Computer-aided instrument zero
        point stabilizing and correction   Mass [kg]                   220                        325
        of systematic instrument errors
        (CAA)
       •  Computer provided temperature   APPLICATIONS                    ACCESSORIES
        measurement and computer-
        aided correction of temperature   Calibration of:                 •  Large number of accessory kits and modular
        and measuring force influences  •  Plain plug gages and gage rings  components for completing a wide variety of
       •  Constant measuring force over   •  Setting gage rings            measuring tasks, including the measurement of:
        the entire measuring spindle   •  Snap gages                      •  Thread gages
        setting range            •  Spherical gage blocks, internal micrometers  •  Taper gages
       •  Large object table with precision   •  Gage blocks              •  Conical thread gages
        guidance in the Z direction and a   •  Thread gages               •  Gears
        loading capacity of 25 kg  •  Taper thread gages                  •  Factory calibration or DAkkS/DKD calibration can
       •  Automatic reversing point   •  Gear gages                        be additionally offered for this measuring station
        detection with static and   •  Taper gages
        dynamic adoption of      •  Dial indicators
        measuring values         •  Dial comparators
       •  Highly flexible within the   •  2-point bore gages
        application range (can be used   •  Outside micrometers
        for measuring both miniature   •  2-point inside micrometers
        and large measuring objects)
       •  Mahr 828 WIN measuring and
        evaluation software and MS
        Windows®
       •  Inner thread measurement
        supported by automatic Z
        positioning


                                       For more information, please visit our website: www.mahr.com

      520                         Precimar | Precision Length Metrology

