Page 704 - Mahr马尔量具完整
P. 704
MFU 200

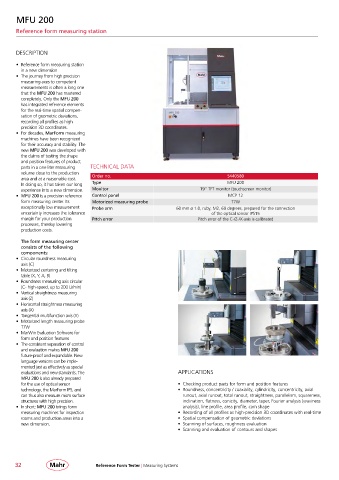
       Reference form measuring station


       DESCRIPTION

       •  Reference form measuring station
        in a new dimension
       •  The journey from high precision
        measuring axes to competent
        measurements is often a long one
        that the MFU 200 has mastered
        completely. Only the MFU 200
        has integrated reference elements
        for the real-time spatial compen-
        sation of geometric deviations,
        recording all profiles as high
        precision 3D coordinates.
       •  For decades, MarForm measuring
        machines have been recognized
        for their accuracy and stability. The
        new MFU 200 was developed with
        the claims of testing the shape
        and position features of product
        parts in a one liter measuring    TECHNICAL DATA
        volume close to the production   Order no.                               5440580
        area and at a reasonable cost.
        In doing so, it has taken our long   Type                                MFU 200
        experience into a new dimension.  Monitor                      19" TFT monitor (touchscreen monitor)
       •  MFU 200 is a precision reference   Control panel                       MCP 12
        form measuring center. Its   Motorized measuring probe                    T7W
        exceptionally low measurement   Probe arm              60 mm ø 1.0, ruby, M2, 60 degrees, prepared for the connection
        uncertainty increases the tolerance                                of the optical sensor IPS15
        margin for your production    Pitch error                      Pitch error of the C-/Z-/X-axis is calibrated
        processes, thereby lowering
        production costs.

        The form measuring center
        consists of the following
        components:
       •  Circular roundness measuring
        axis (C)
       •  Motorized centering and tilting
        table (X, Y , A, B)
       •  Roundness measuring axis circular
        (C- high-speed, up to 200 U/min)
       •  Vertical straightness measuring
        axis (Z)
       •  Horizontal straightness measuring
        axis (X)
       •  Tangential multifunction axis (Y)
       •  Motorized length measuring probe
        T7W
       •  MarWin Evaluation Software for
        form and position features
       •  The consistent separation of control
        and evaluation makes MFU 200
        future-proof and expandable. New
        language versions can be imple-
        mented just as effectively as special
        evaluations and new standards. The                      APPLICATIONS
        MFU 200 is also already prepared
        for the use of optical sensor                           •  Checking product parts for form and position features
        technology, the MarForm IPS, and                        •  Roundness, concentricity / coaxiality, cylindricity, concentricity, axial
        can thus also measure micro surface                      runout, axial runout, total runout, straightness, parallelism, squareness,
        structures with high precision.                          inclination, flatness, conicity, diameter, taper, Fourier analysis (waviness
       •  In short: MFU 200 brings form                          analysis), line profile, area profile, cam shape
        measuring machines for inspection                       •  Recording of all profiles as high-precision 3D coordinates with real-time
        rooms and production areas into a                       •  Spatial compensation of geometric deviations
        new dimension.                                          •  Scanning of surfaces, roughness evaluation
                                                                •  Scanning and evaluation of contours and shapes


      32                           Reference Form Tester | Measuring Systems

