Page 570 - Mahr马尔量具完整
P. 570
MarForm MFK 500

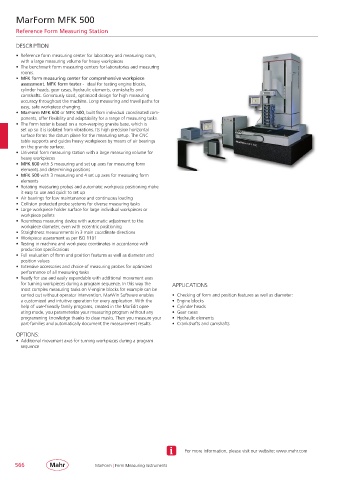
       Reference Form Measuring Station

       DESCRIPTION

       •  Reference form measuring center for laboratory and measuring room,
        with a large measuring volume for heavy workpieces
       •  The benchmark form measuring centers for laboratories and measuring
        rooms.
       •  MFK form measuring center for comprehensive workpiece
        assessment. MFK form tester -  ideal for testing engine blocks,
        cylinder heads, gear cases, hydraulic elements, crankshafts and
        camshafts. Generously sized, optimized design for high measuring
        accuracy throughout the machine. Long measuring and travel paths for
        easy, safe workpiece changing.
       •  MarForm MFK 600 or MFK 500, built from individual coordinated com-
        ponents, offer flexibility and adaptability for a range of measuring tasks.
       •  The form tester is based on a non-warping granite base, which is
        set up so it is isolated from vibrations. Its high precision horizontal
        surface forms the datum plane for the measuring setup. The CNC
        table supports and guides heavy workpieces by means of air bearings
        on the granite surface.
       •  Universal form measuring station with a large measuring volume for
        heavy workpieces
       •  MFK 600 with 5 measuring and set up axes for measuring form
        elements and determining positions
       •  MFK 500 with 3 measuring and 4 set up axes for measuring form
        elements
       •  Rotating measuring probes and automatic workpiece positioning make
        it easy to use and quick to set up
       •  Air bearings for low maintenance and continuous loading
       •  Collision protected probe systems for diverse measuring tasks
       •  Large workpiece holder surface for large individual workpieces or
        workpiece pallets
       •  Roundness measuring device with automatic adjustment to the
        workpiece diameter, even with eccentric positioning
       •  Straightness measurements in 3 main coordinate directions
       •  Workpiece assessment as per ISO 1101
       •  Testing in machine and workpiece coordinates in accordance with
        production specifications
       •  Full evaluation of form and position features as well as diameter and
        position values
       •  Extensive accessories and choice of measuring probes for optimized
        performance of all measuring tasks
       •  Ready for use and easily expandable with additional movement axes
        for turning workpieces during a program sequence. In this way the   APPLICATIONS
        most complex measuring tasks on V-engine blocks for example can be
        carried out without operator intervention. MarWin Software enables   •  Checking of form and position features as well as diameter:
        a customized and intuitive operation for every application. With the   •  Engine blocks
        help of user-friendly family programs, created in the MarEdit oper-  •  Cylinder heads
        ating mode, you parameterize your measuring program without any   •  Gear cases
        programming knowledge thanks to clear masks. Then you measure your   •  Hydraulic elements
        part-families and automatically document the measurement results.  •  Crankshafts and camshafts

       OPTIONS:
       •  Additional movement axes for turning workpieces during a program
        sequence


                                                                  For more information, please visit our website: www.mahr.com

      566                         MarForm | Form Measuring Instruments

